How to Install Composite Decking With Hidden Fasteners
How To Install Composite Decking Using Clips
If you're looking for a clean look on your deck surface with no visible screws, consider using deck clips.
![]() Time
Time
Multiple Days
![]() Complexity
Complexity
Advanced
![]() Cost
Cost
$20-50
Introduction
If you're looking for a clean look on your deck surface with no visible screws, consider using deck clips.
Tools Required
Materials Required
- Composite Decking
- Deck Clips
Project step-by-step (7)
Step 1
Before You Get Started
- Check the decking specifications and local building codes for joist spacing. The most common is 16 inches on center. For a more rigid feel, 12 inches on center.
- Install blocking between each joist every four to six feet to reduce movement up and down and twisting of the joists, using exterior screws.
- Pro Tip: Screw a straight 2x4 on edge to the top of each joist before adding the blocking. This will ensure all the joists are level with each other.


Step 2
Starter Board
- The first board you install, the starter board is the most important one.
- Depending on the shape of the deck, the first board can start at the house or at the outer rim joist.
- Use starter clips to fasten your first board or surface screws and plug the holes.
- Pro Tip: The last board may need to be ripped; it may look better against the house than on the outer rim.

Sign Up For Our Newsletter
Complete DIY projects like a pro! Sign up for our newsletter!
Do It Right, Do It Yourself!
![]()
Step 3
Installing Deck Clips
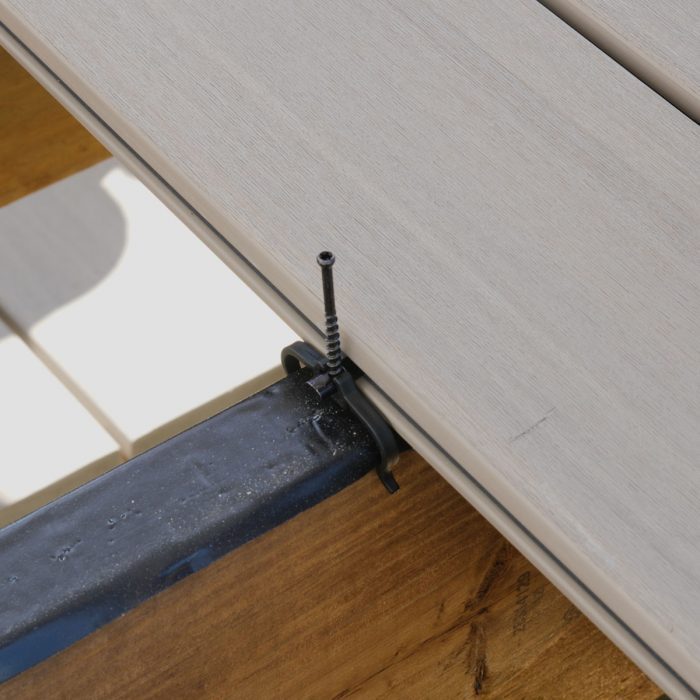
- On the inside edge of the starter board, install deck clips at every joist into the groove along the whole length of the board.
Step 4
Installing Deck Board
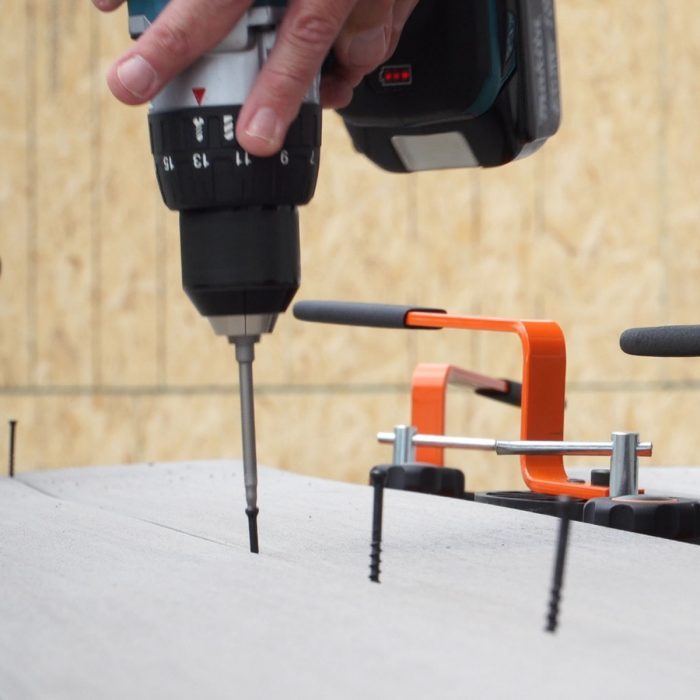
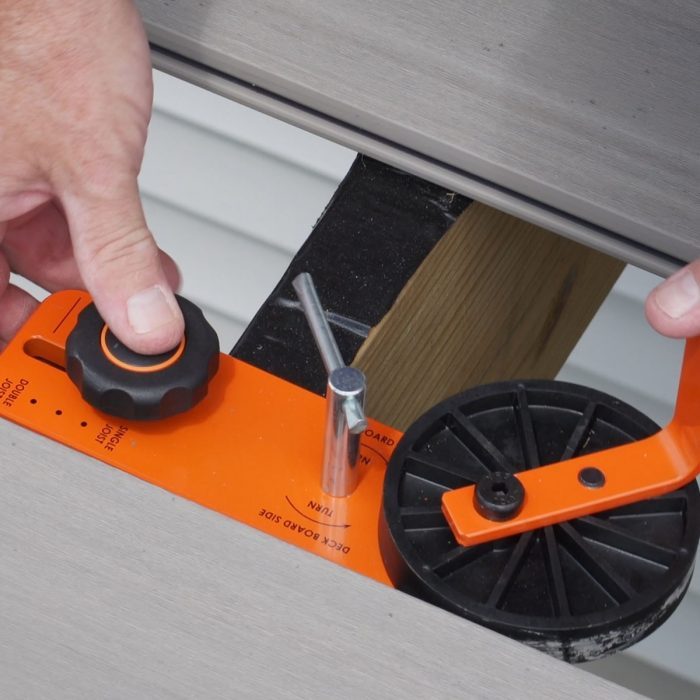
- Slide the next board up against the clips. Hold the board tightly, putting pressure against the clips. If available, use a board locking tool to help you hold the board tight.
- Fasten all the clips between the two boards securely using a drill (not an impact driver).
- Repeat the same process for each board.
- Pro tip: Let the boards hang over on both sides of the deck.
Step 5
Expansion and Contraction
- Composite decking will expand and contract in extreme climates.
- Don't leave a gap when two board ends butt together.
- Install double joists and use four clips, two per board, where you have a butt joint.
- Pro tip: Stagger the butt joints every other row so no two seams are next to each other.
Step 6
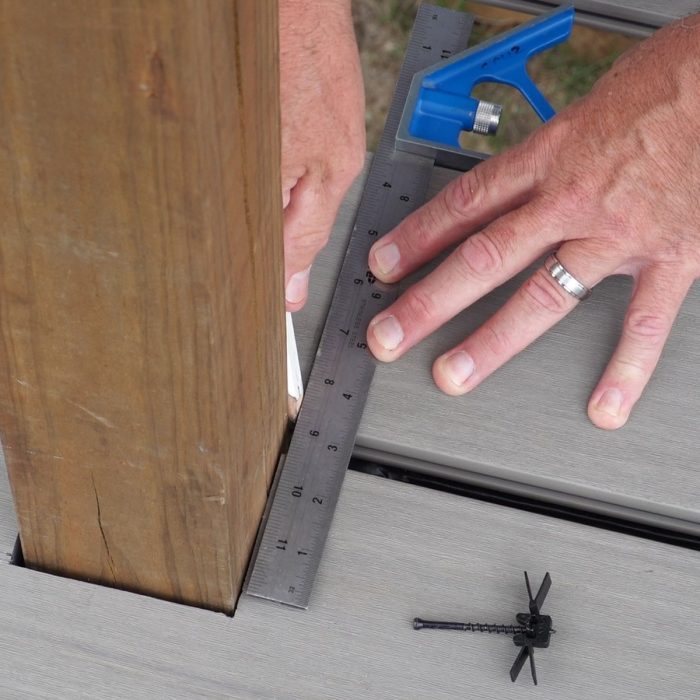
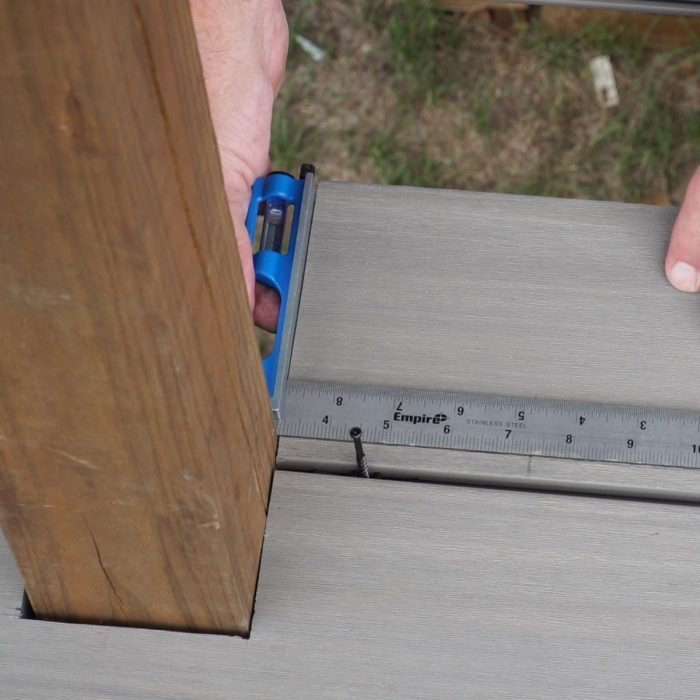
Notching Around Posts
- To notch around the railing post, slide a deck board up next to the post. Place a square against the edge of the post and draw lines on each side of the post onto the board.
- To notch the depth, use a spacer or deck clip to create the gap between boards.
- Slide the end of the deck board up next to the post and place a square on the end of the deck board against the post. Draw a line onto the board between your two other lines.
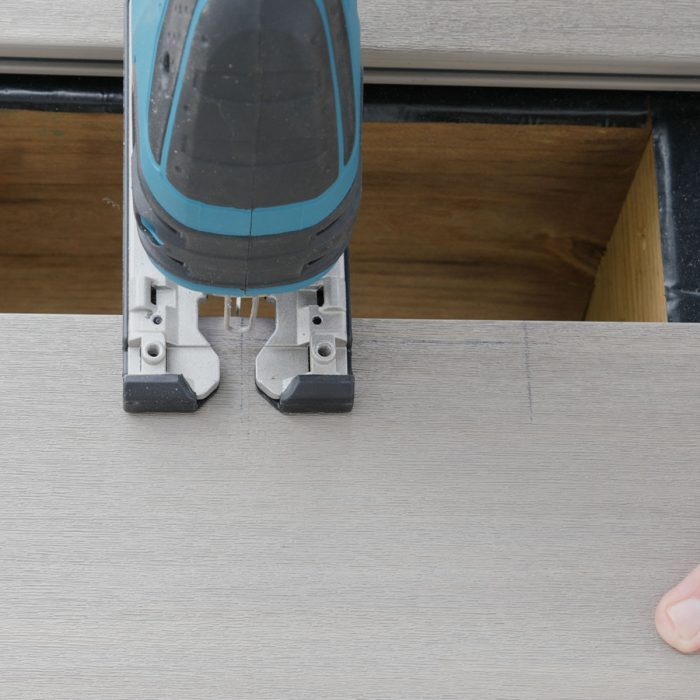
- Cut out the notch using a jigsaw.
- Pro tip: Make the notch slightly bigger for a little wiggle room.
Step 7
Trim Boards
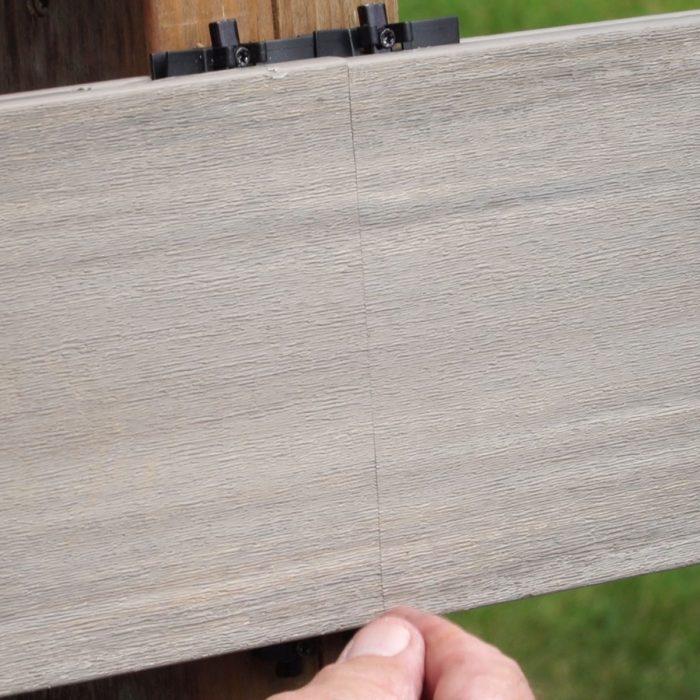
- After all the boards are installed, snap a chalk line and trim the ends to the desired length.
- Pro tip:As you continue to install deck boards, periodically take measurements to be sure the boards are parallel to the starter board.


Similar Projects
How to Install Composite Decking With Hidden Fasteners
Source: https://www.familyhandyman.com/project/install-composite-decking-clips/